Sunday, July 21, 2013
Saturday, July 13, 2013
Ubuntu Mini ISO installation Process with Screenshots
HOWTO Install Ubuntu 12.04 LTS Using Mini ISO
Note:
This is a user friendly guide for New Users to Linux and/or Beginners. If you know this already, then you are in the wrong place :)
1- Download the Mini ISO from here.
2- Check MD5SUM for the ISO you downloaded.
3- If you are willing to install on Real Hardware, then create a LiveCD. Please, do NOT forget to BACKUP your IMPORTANT FILES before carrying on.
4- If you are willing to test that on a Virtual Machine, then you just need to mount the ISO as a LiveCD - depends on what VM you are using.
5- Boot Menu should look like the below Screenshot. Select "Install" and then Press "Enter".
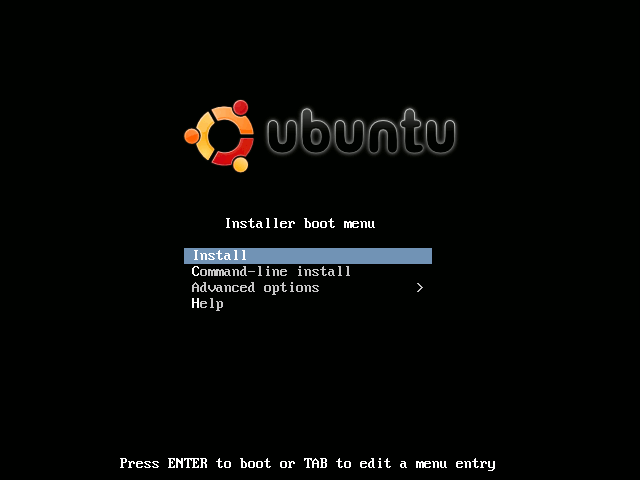
6- Select the language to be used for the installation process from the below list:

7- Select your Location from the below list:

8- Select "United States - en_US.UTF-8" if there is no locale defined of language and country you have selected from the previous step.

9- Select "No" UNLESS you want to Detect your Keyboard Layout.

10- If you press "No" from the previous step, then select the Layout for your country of origin

11- Choose your favorite method for toggling between Keyboard Layouts:

12- Enter the hostname for your system - default is "ubuntu".

13- Choose the Archive Mirror Country - better/easier to choose the mirror in your country from the list:

14. "Continue" unless you do have the HTTP Proxy Information:

15. Write your Full Name:

16- Write your Username:
17- Make sure to choose a strong password:
18- Confirm your password:
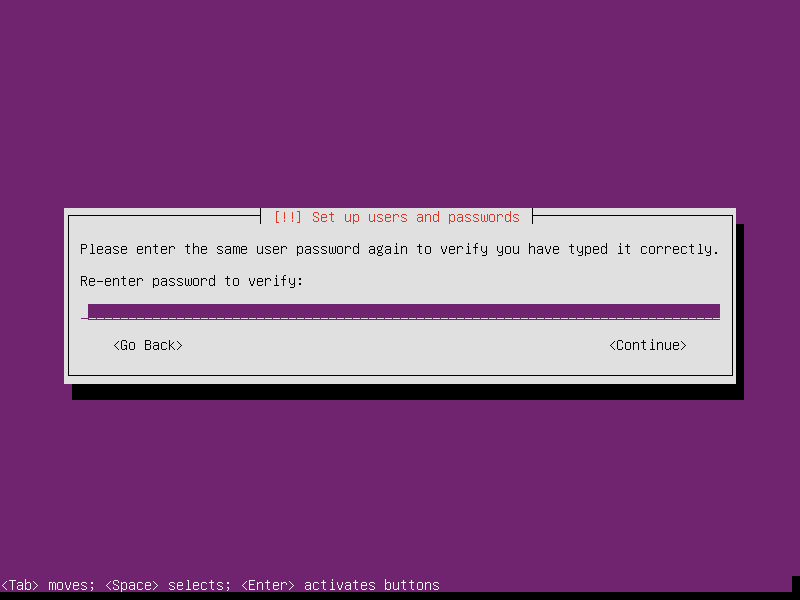
19- If you want to Encrypt your Home Directory
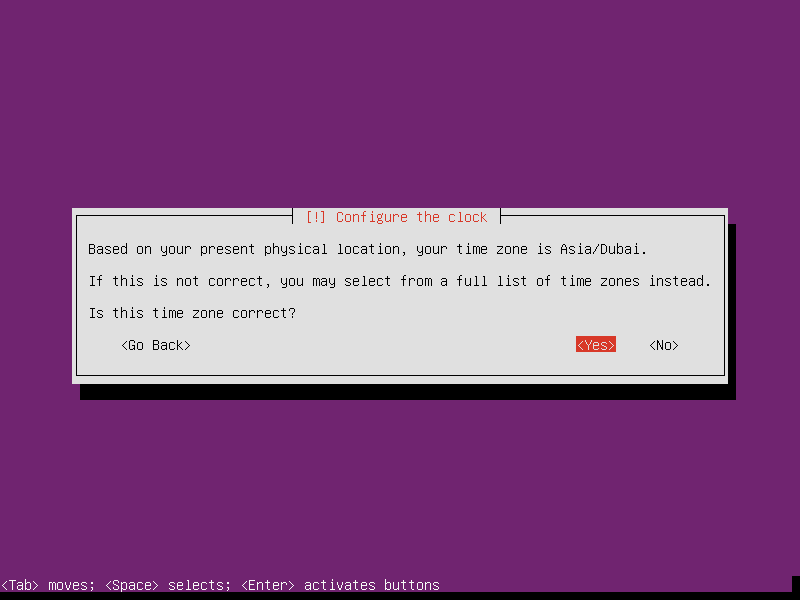
20- Confirm Your Time Zone:
21- Here is the most important step. This is how to select the Partitioning Method. The easiest way, is: Guided - Use Entire Disk. Please, understand this is the best way if your HDD is empty and/or you don't need the Data stored on your HDD. You can read the instructions on the below Screenshot:
22- If you decided to do it Manually, this is the Screenshot for that. If you are not familiar with such Partitioning Method, Select "Guided Partitioning" from the list below and press "Enter". More information about Partitioning can be found here.
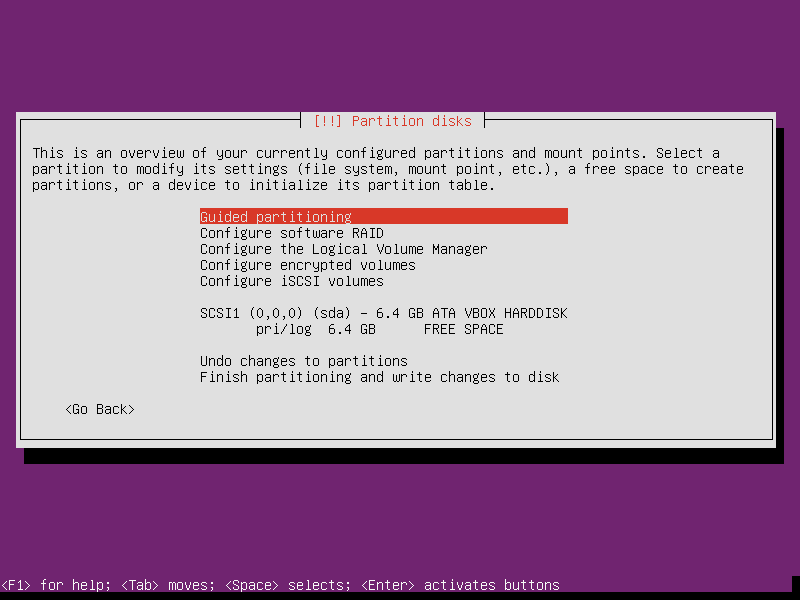
23- PLEASE, read the note.
To Confirm, Press "Enter".
24- If you are done, review the changes made and select "Finish Partitioning and write changes to Disk" then Press "Enter".
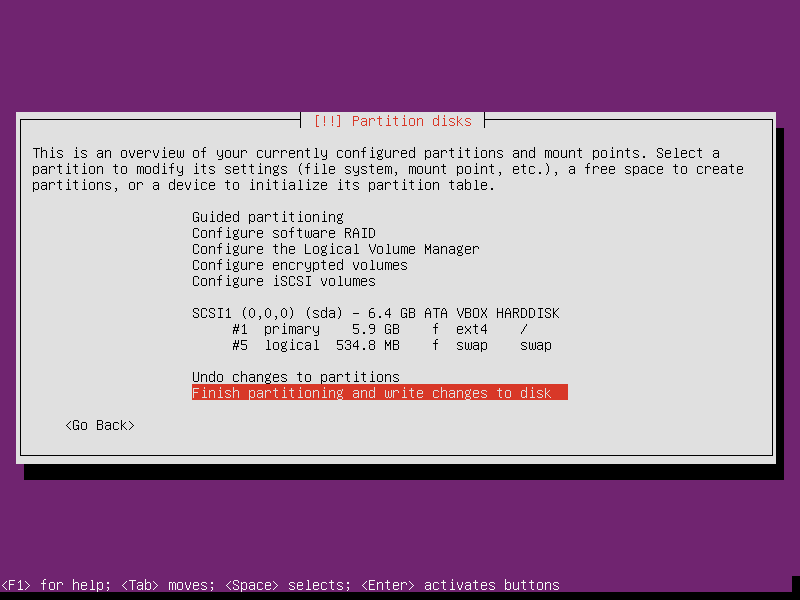
25- The installer now will give you a summary of the changes to your HDD. To confirm, select "Yes" and Press "Enter".
26- Choose "No Automatic Update" unless you know what you are doing.
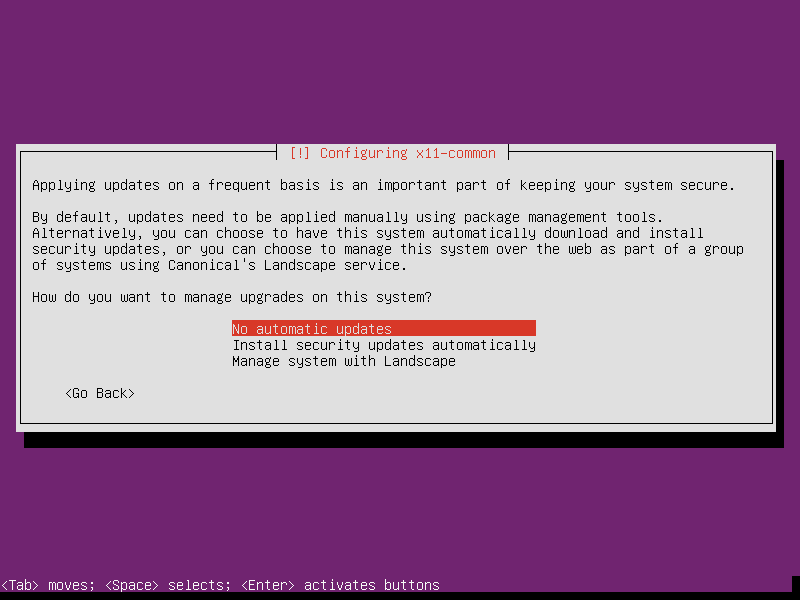
27- This is the Second Most Important Step. On this Step, you decide what package you want to install/include in your setup. So far, ONLY the core system has been installed. If you want to build your system the way you like and add the package you want, this is a list of what you may need/use. Instructions are below:
Space to Select
Tab to Move
Enter to Activate the selection
** Jump to continue without making any selection will install nothing.
28- Another important step is to choose where to install GRUB (the boot loader). The default selection is "Yes". Please, understand if you carry on with "Yes", this will erase any boot loader current installed in your MBR. So, be careful and you should understand what you are doing - don't make a selection without knowing what is going on. More about GRUB can be found here.
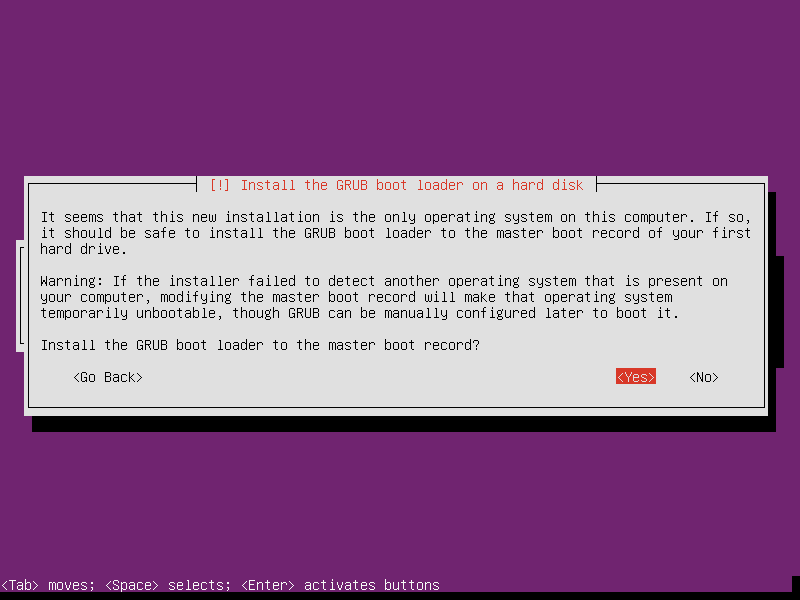
29- Because you have previously selected your time zone and your country where you live, select "No" and carry on.
30- You are done :)
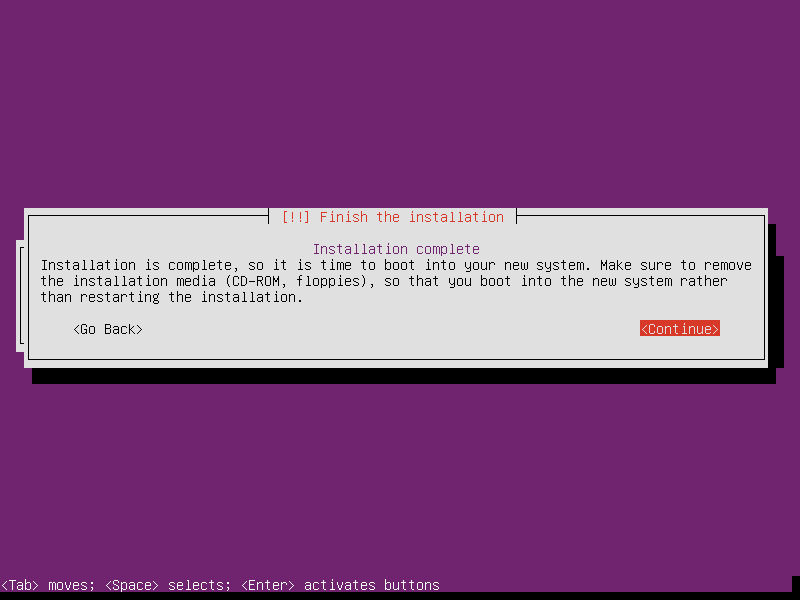
SAME PROCESS for 12.10 and 13.04 :)
After you reboot, you will have CLI Screen if you haven't chosen any DE to install (Ubuntu Desktop, Lubuntu Desktop, Xubuntu Desktop, Kubuntu Desktop).
Type your username that you selected previously during the installation and your password to log in.
Without installing any package from the package list shown previously in step No. 27, and after installing:
sudo apt-get update
sudo apt-get install htop
"htop" will give:
Wednesday, July 10, 2013
[Draft] Mubuntu - A Simple, Minimal System based on Ubuntu 12.04 LTS
Update: For now, me and other users are discussing the project over here on facebook. Also, here on LXDE Forum. Soon, I will setup a new area most likely on Launchpad and offer a Mailing List :)
History:
This idea has started here
Then more about it here
And here, I will explain some simple thoughts and we can discuss that later :)
History:
This idea has started here
Then more about it here
And here, I will explain some simple thoughts and we can discuss that later :)
- This system to be based on Ubuntu 12.04 LTS Mini ISO
- This is not a good option for NEW Comers to Linux because it will be a minimal system. Someone came from Windows won't find this interesting.
- This is for Current Linux Users.
- Have very few packages (File Manager, Browser, others).
- It should be lighter than Lubuntu
- DE might NOT be LXDE - I am thinking about other alternatives.
What to do?
- Will update this with more details
- I think I will create a Wiki Page for this
Lubuntu without amjjawad
Very sad but true. I have officially resigned from Lubuntu Team on 7th of July, 2013.
It was about time to take such painful, hard and tough decision. It wasn't easy at all. But, life must go on and one should never give up nor surrender.
For two years, full of hard work for very long hours (12 hrs - 16 hrs daily), achieved a lot and done so many things ... this has come to the end of Lubuntu's Page but that is not the end of my journey, that was just the beginning :)
Full History is here
Now, I'm thinking about one of more of these options.
I will keep you posted :)
Subscribe to:
Comments (Atom)


